The Mealworm Journey
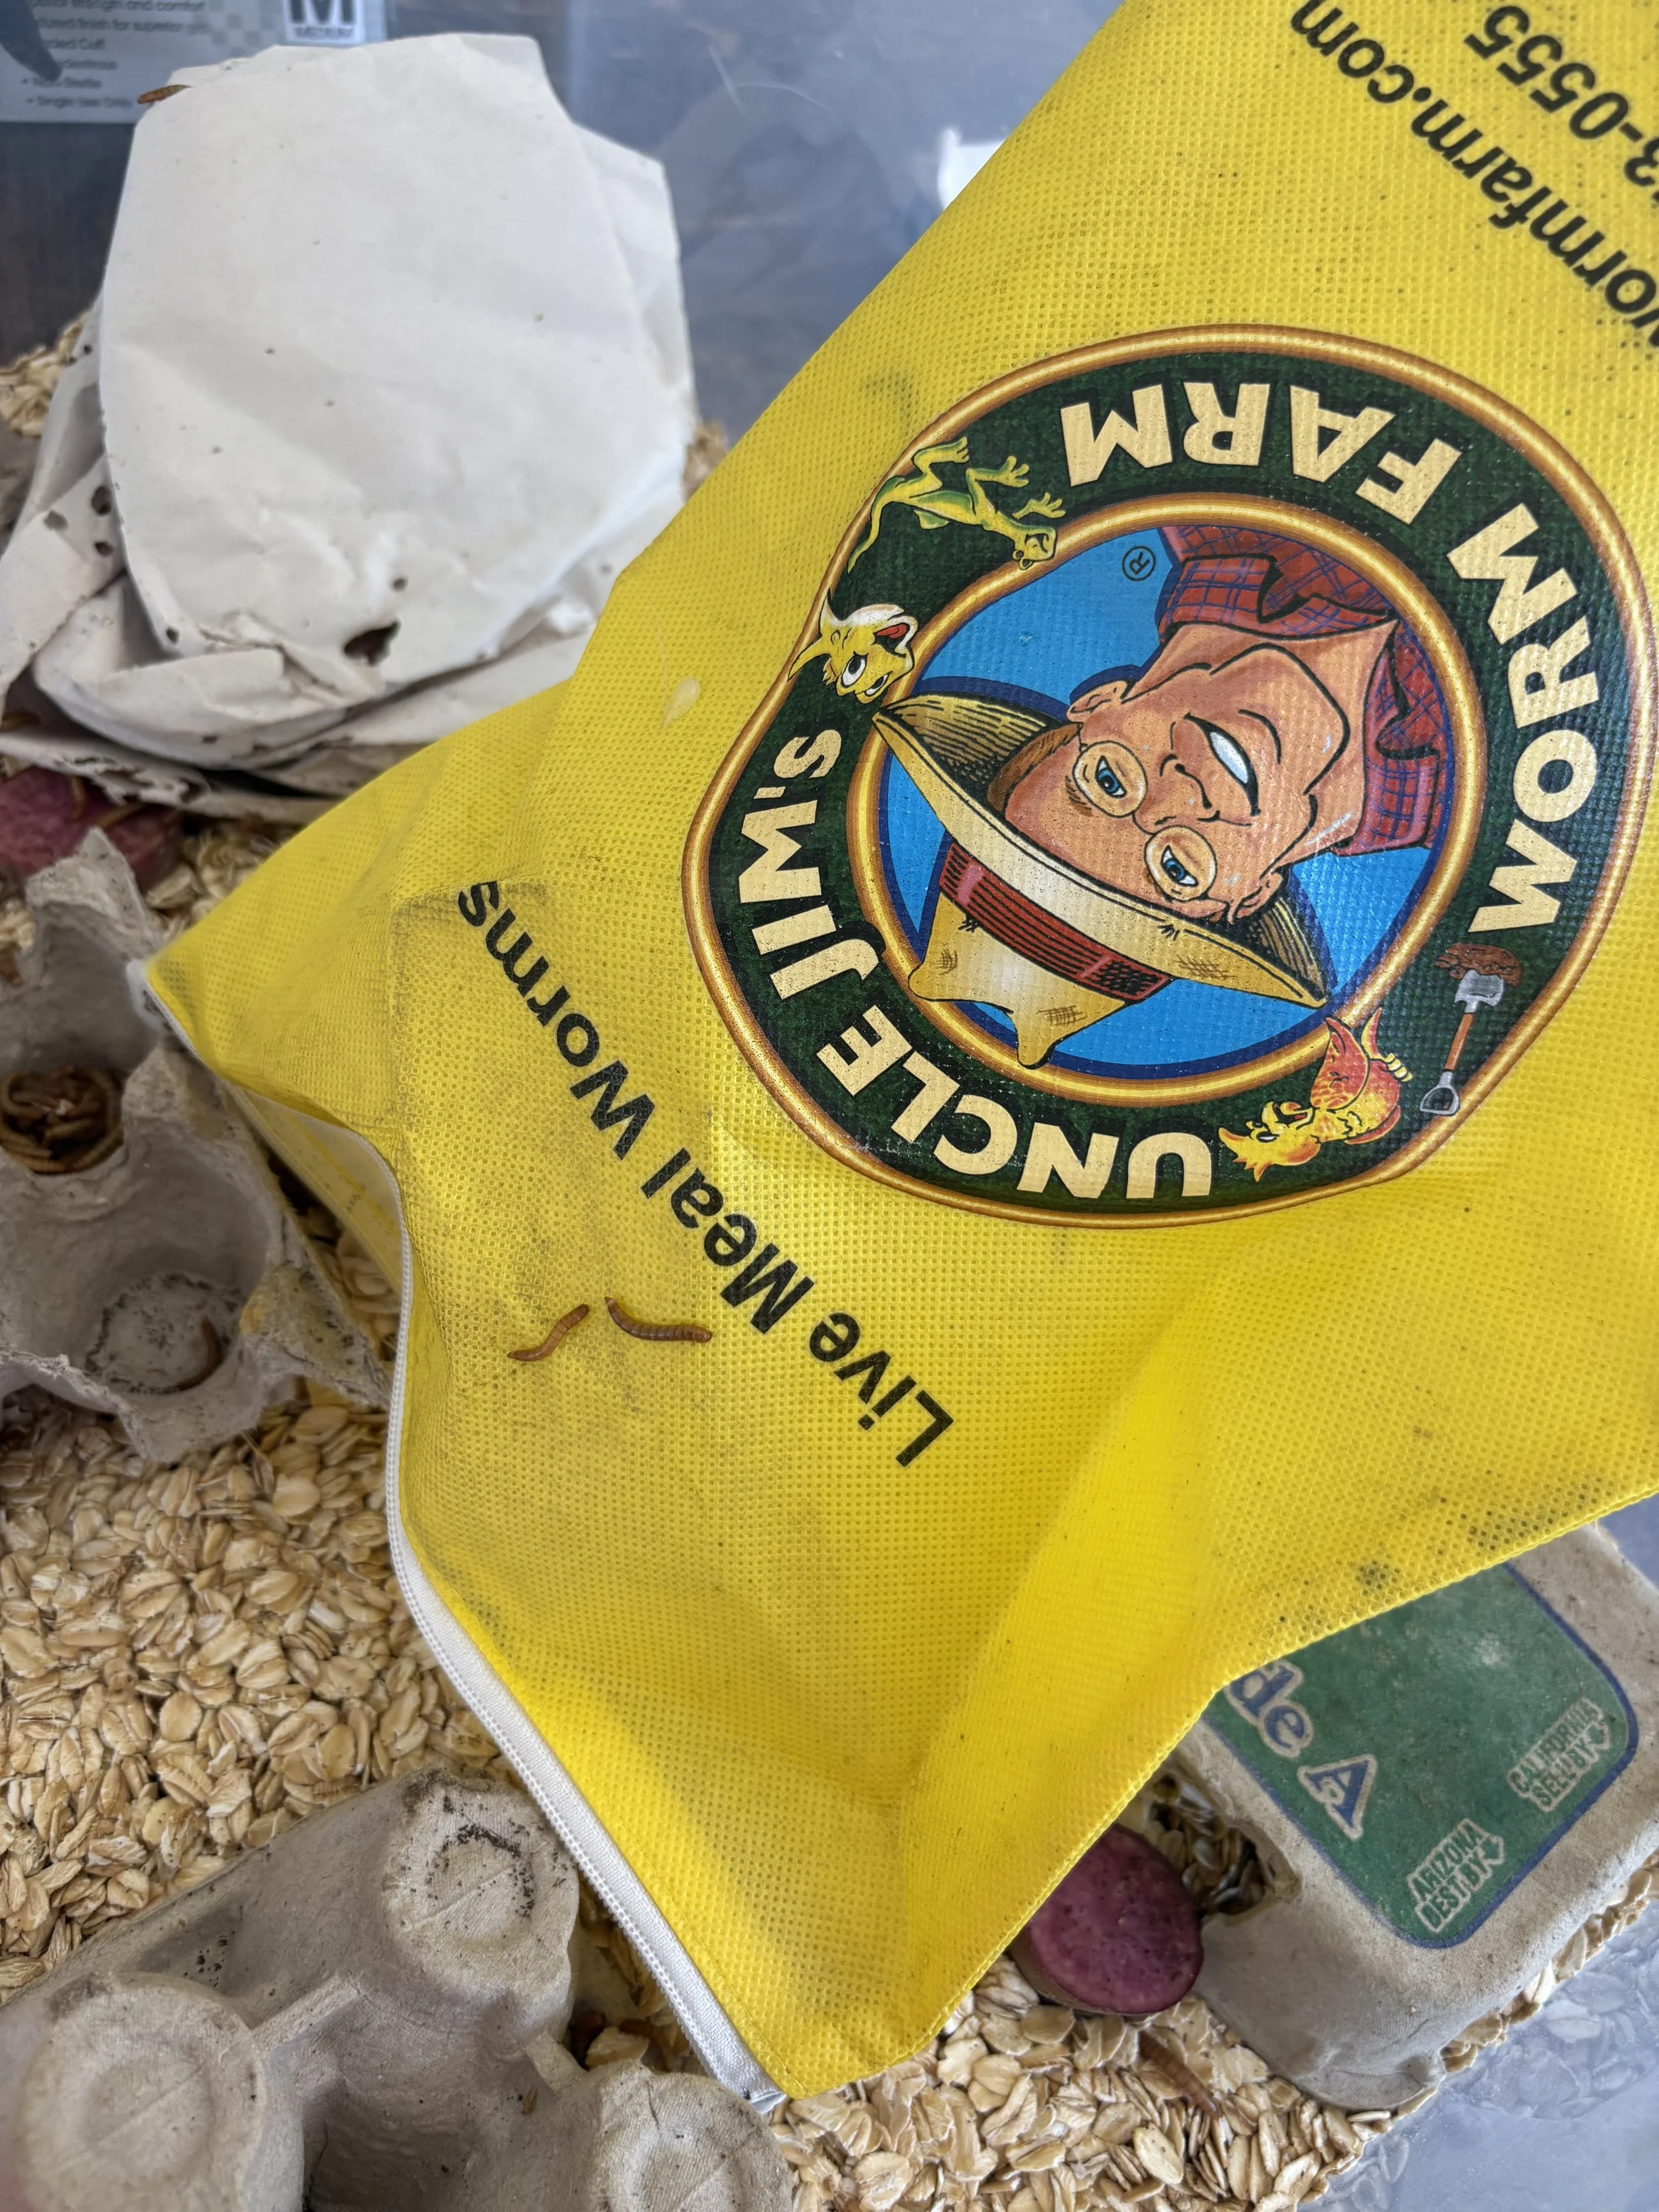
Here at Slide Ranch, we love our chickens – and to speak their love language, it often involves giving them some tasty snacks. While they enjoy their standard feed, they really enjoy a mixture of scratch (seeds and peas) and mealworms. I have had the pleasure of feeding both the chickens and ducks dried mealworms since I first arrived at Slide last year, and only recently did I stop and wonder if we could grow our own mealworms instead of using the (admittedly kind of pricey!) store-bought variety. This brief thought sent me down a rabbit-hole of mealworm education: I learned mealworms are almost always larvae of Darkling beetles, and Uncle Jim’s Worm Farm sells 500 Darkling beetle larvae for the meager price of $30. There are a surprising number of people who have given their own mealworm farm a try – or maybe not so surprising, given how many people raise chickens and other birds and have probably had the same thought as me.
The very first how-to-raise-your-own-mealworms article I found wasn’t very encouraging. Whoever wrote it candidly started their work with a disclaimer that their own attempt was too stinky, wriggly, and prolific for them to both want the worms around, and keep up with the amount of worms being born. I trekked onward, believing my tolerance for GROSS STUFF is probably higher than your average homemaking blogger. That article ended up being a great jumping-off point for me. I learned a couple ways people organize their worms - all involved separating the Darkling mealworms/beetles based on their life cycle stages. I was drawn to a three-drawer system that had one drawer for the larvae, or mealworms, one drawer for the pupae, or the transitional stage between the larvae and the beetle, and one drawer for (of course), the beetles, our worm-makers. After some staff discussion, it was back to Uncle Jim and 500 mealworms were ordered. There was no going back from here.
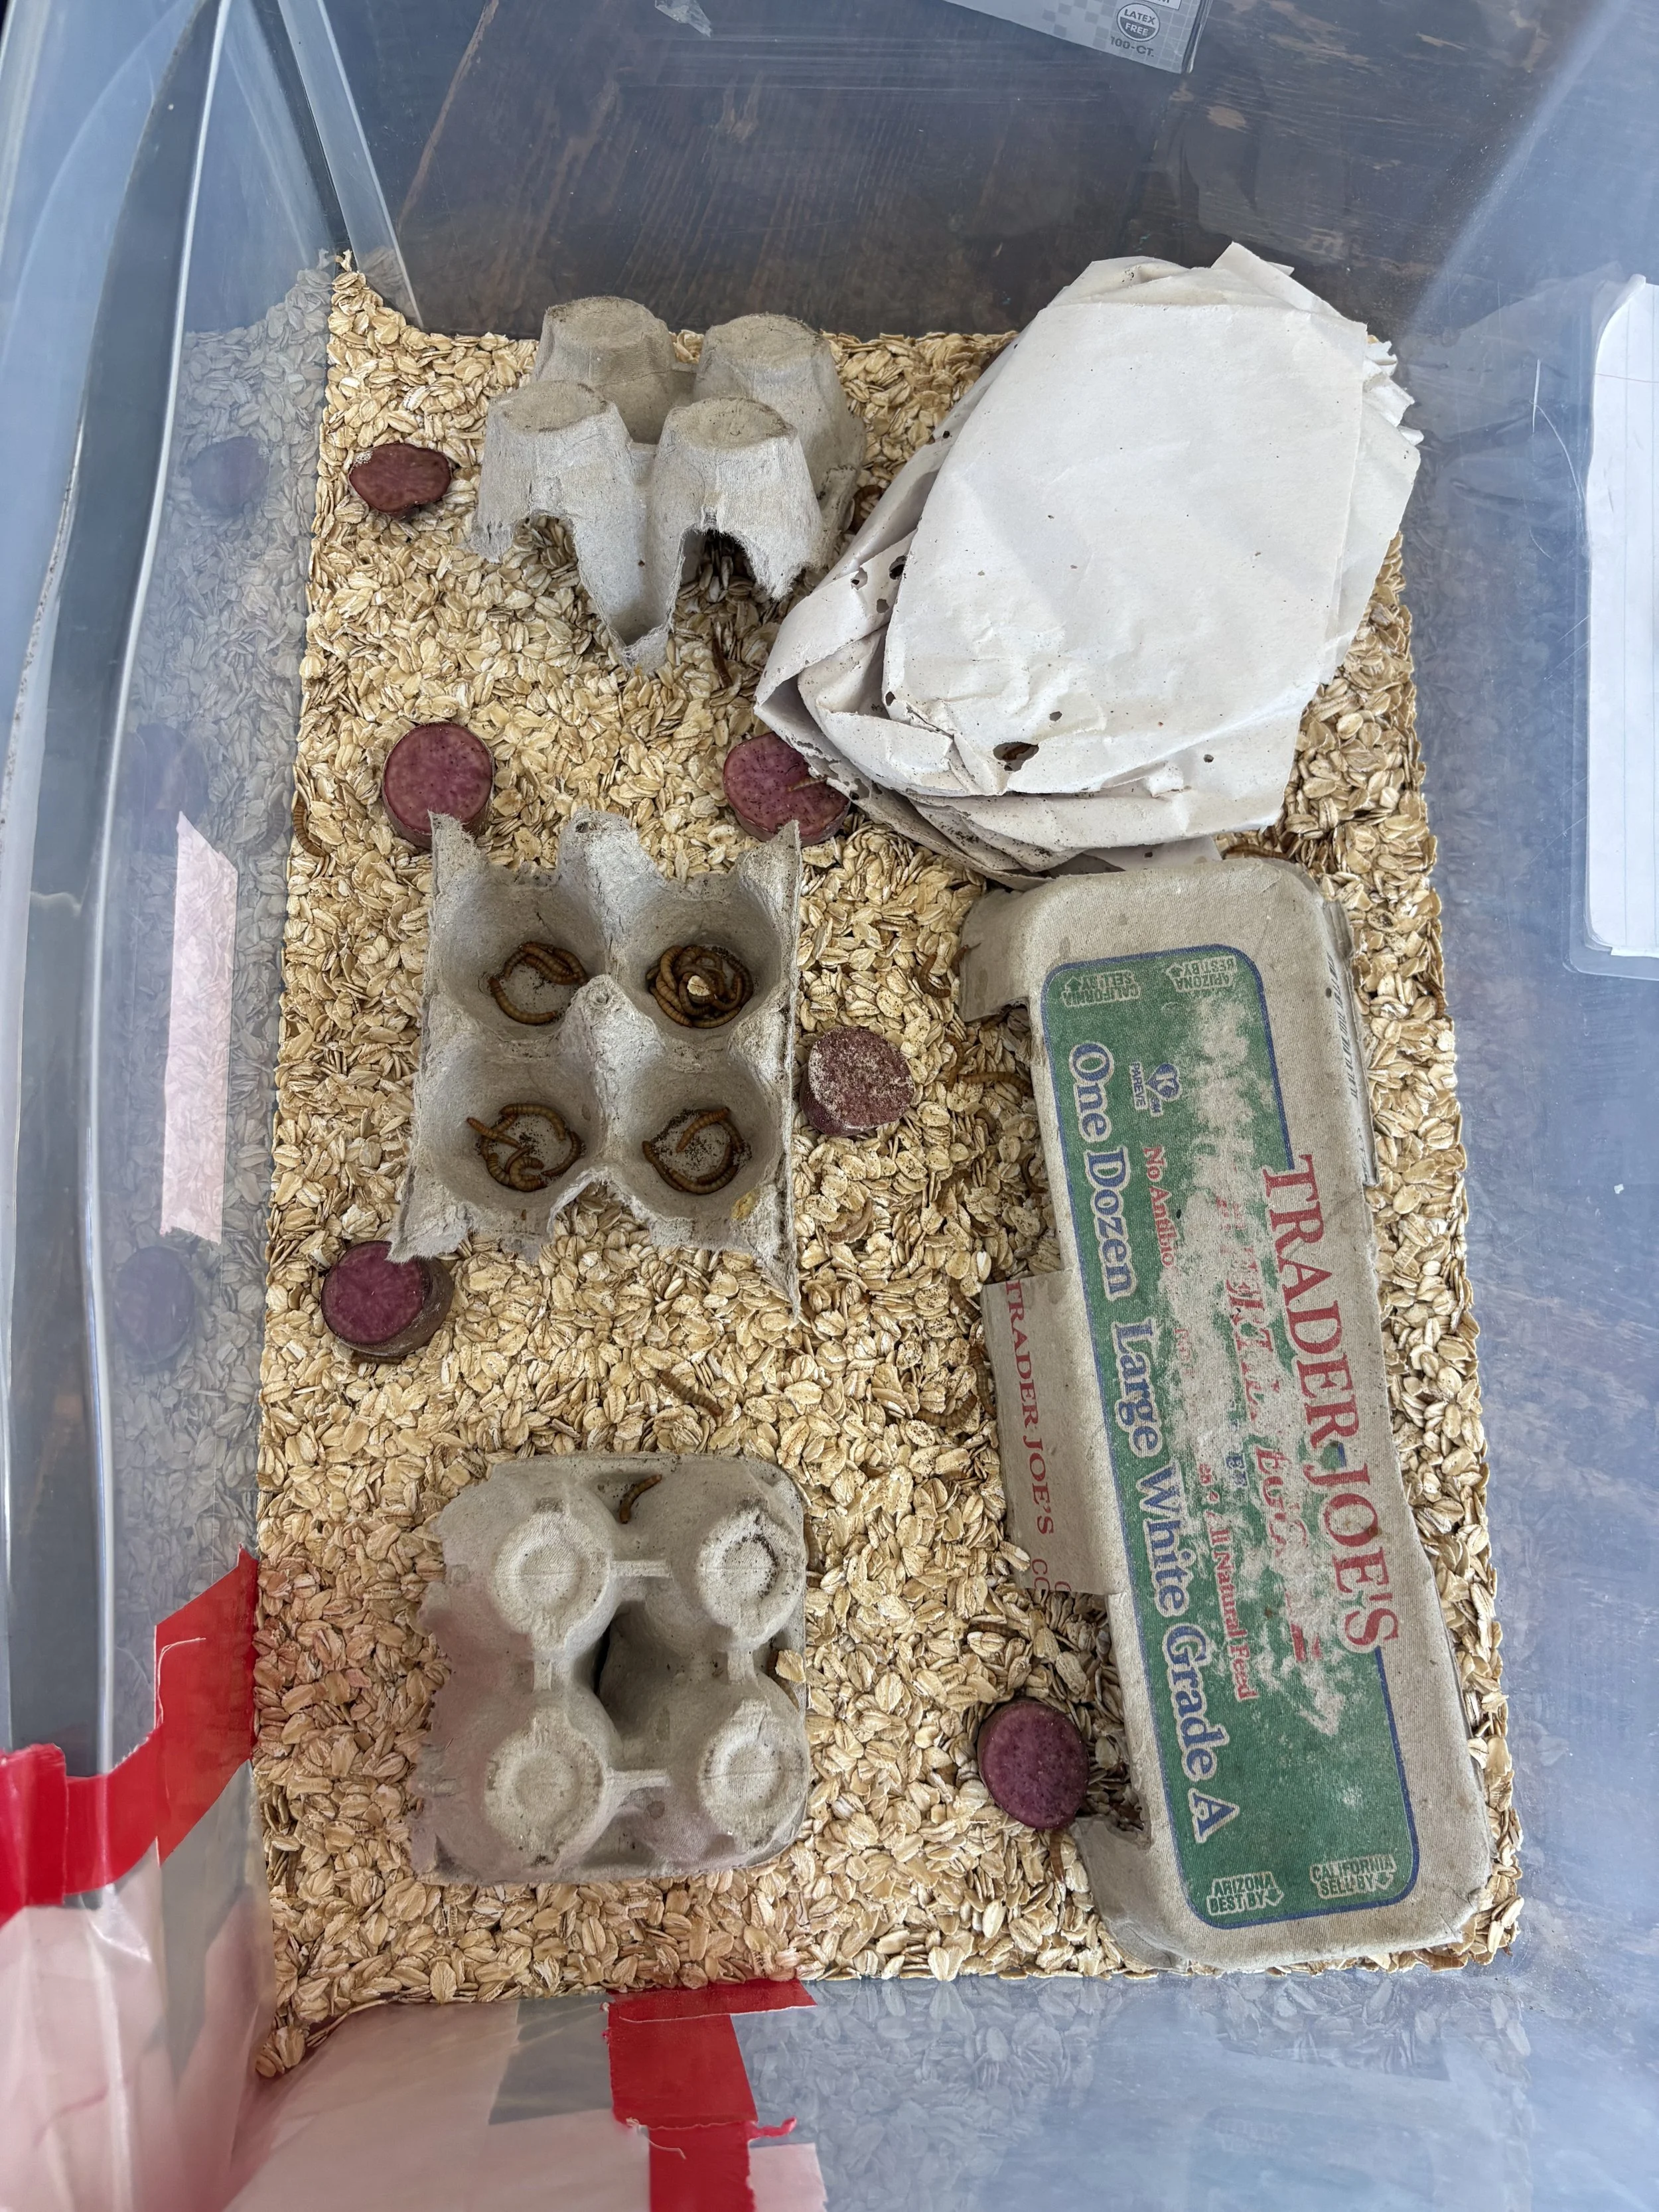
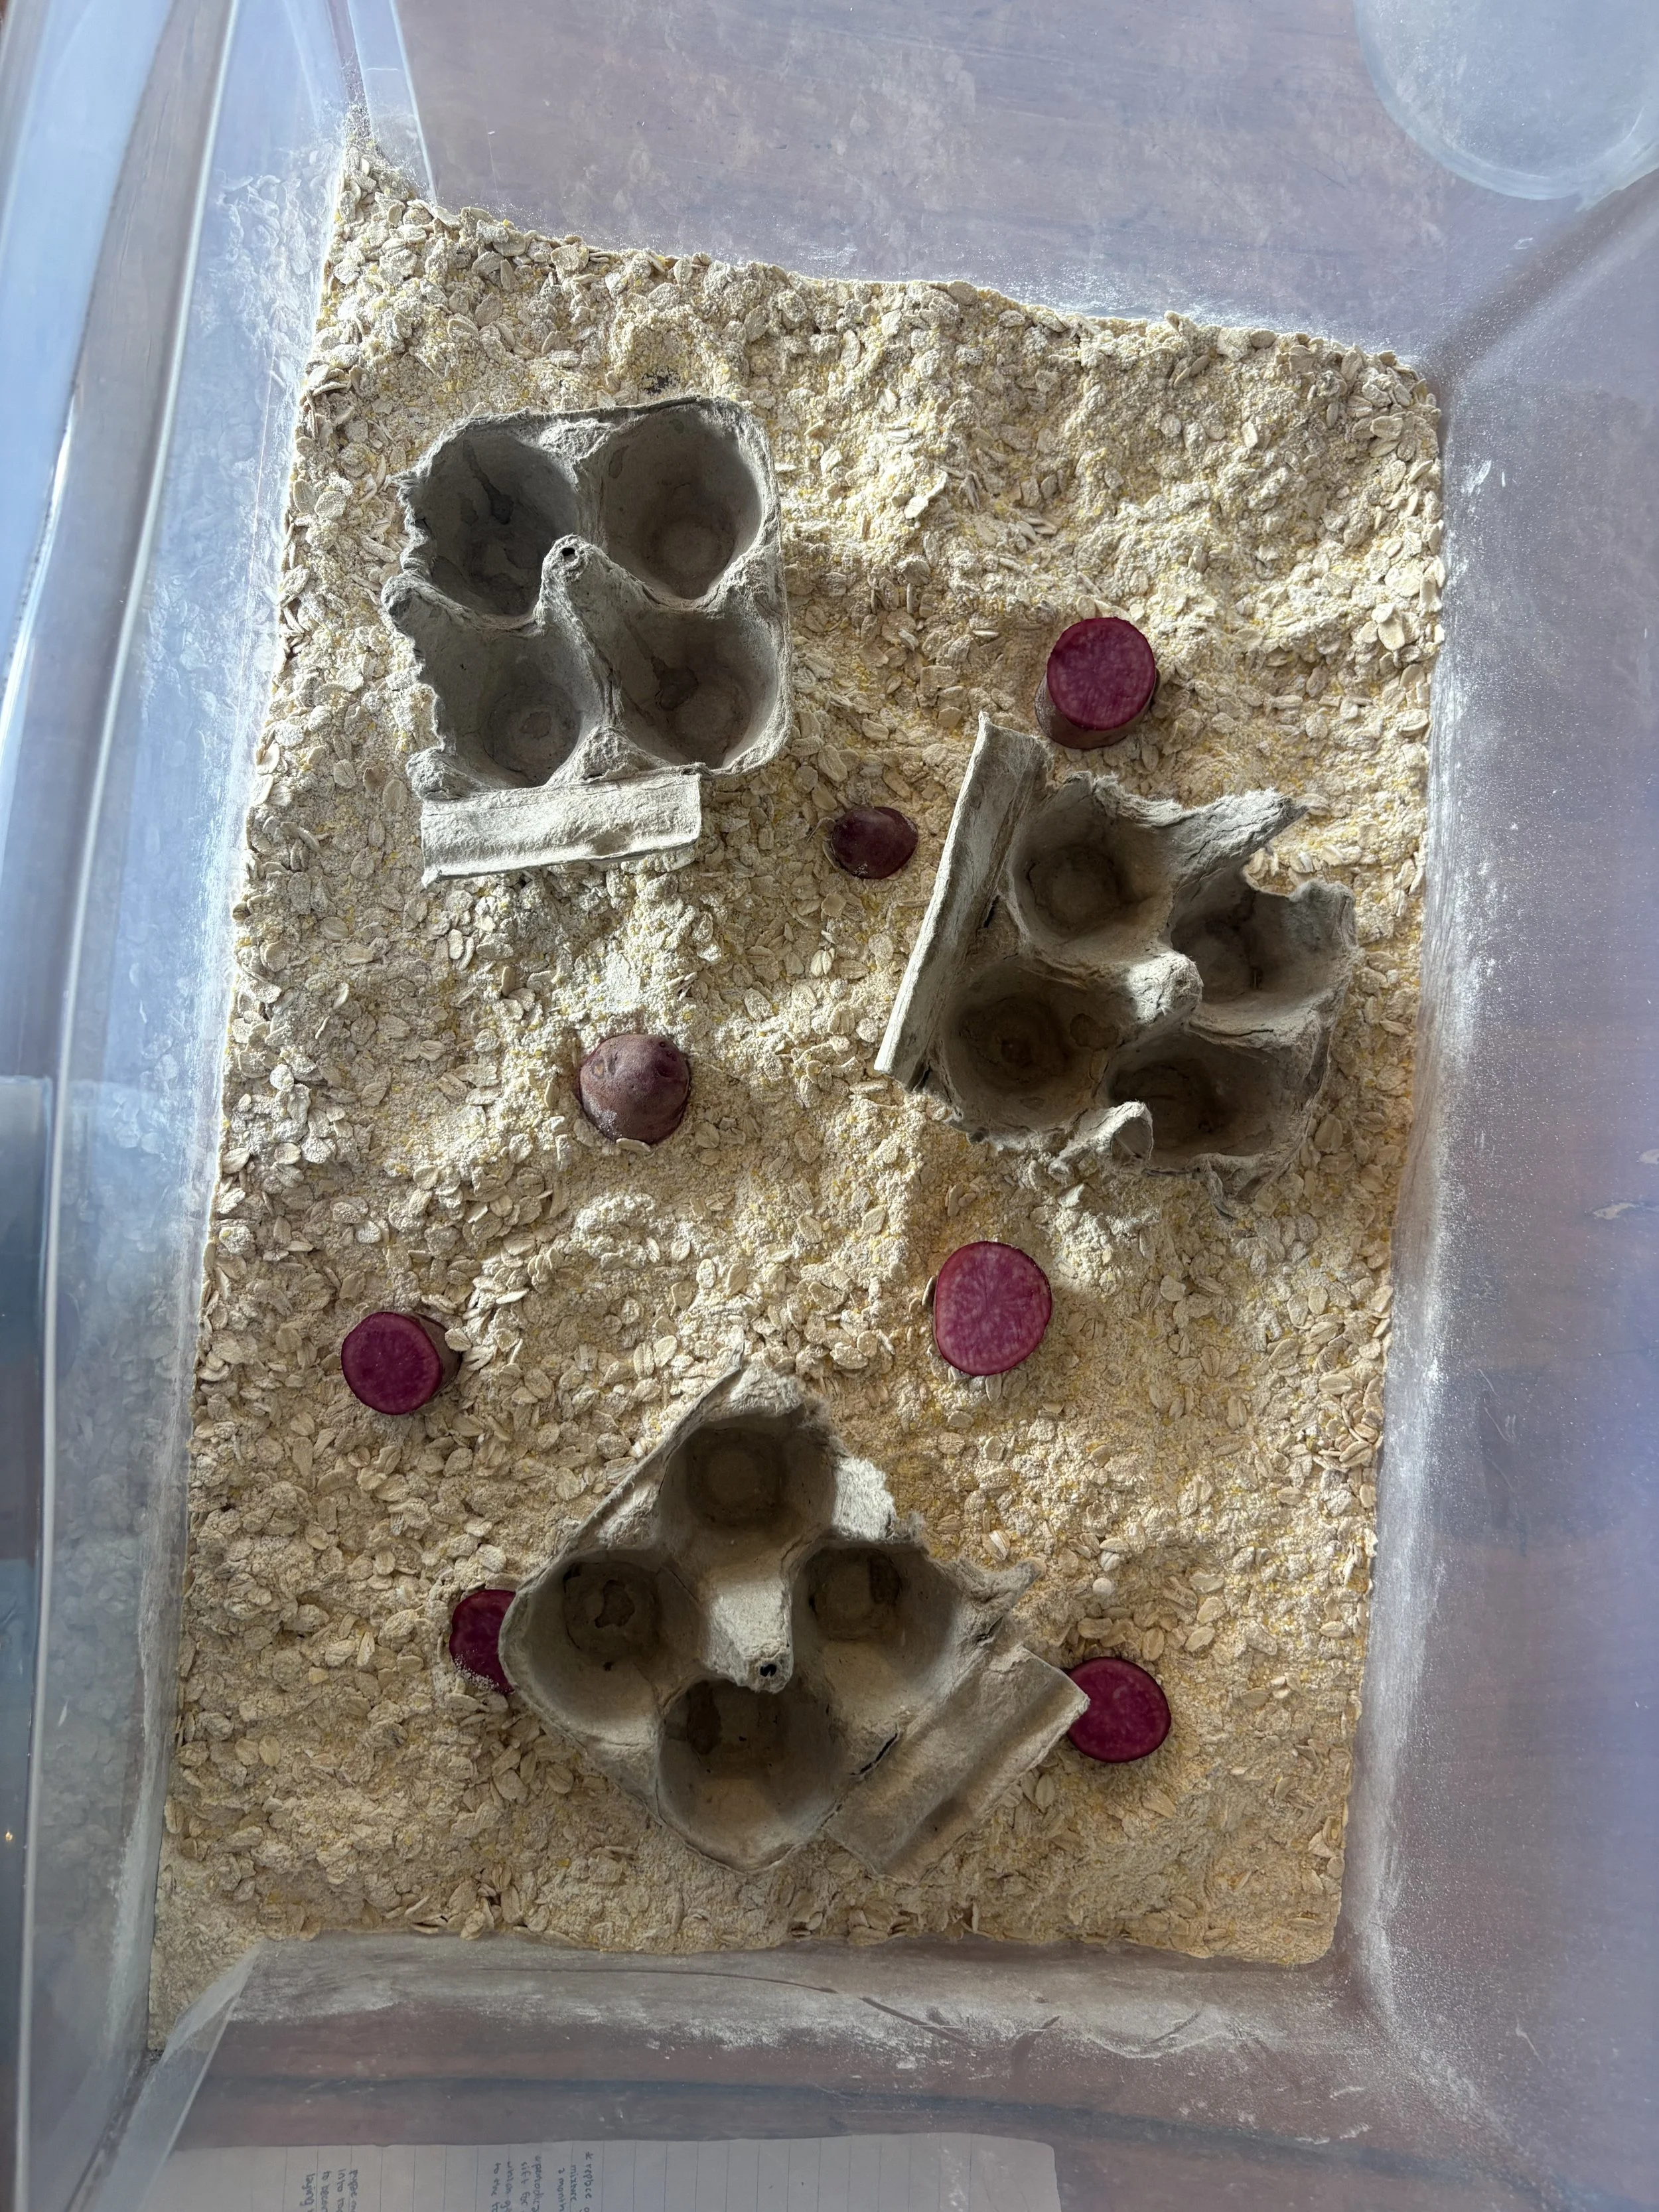
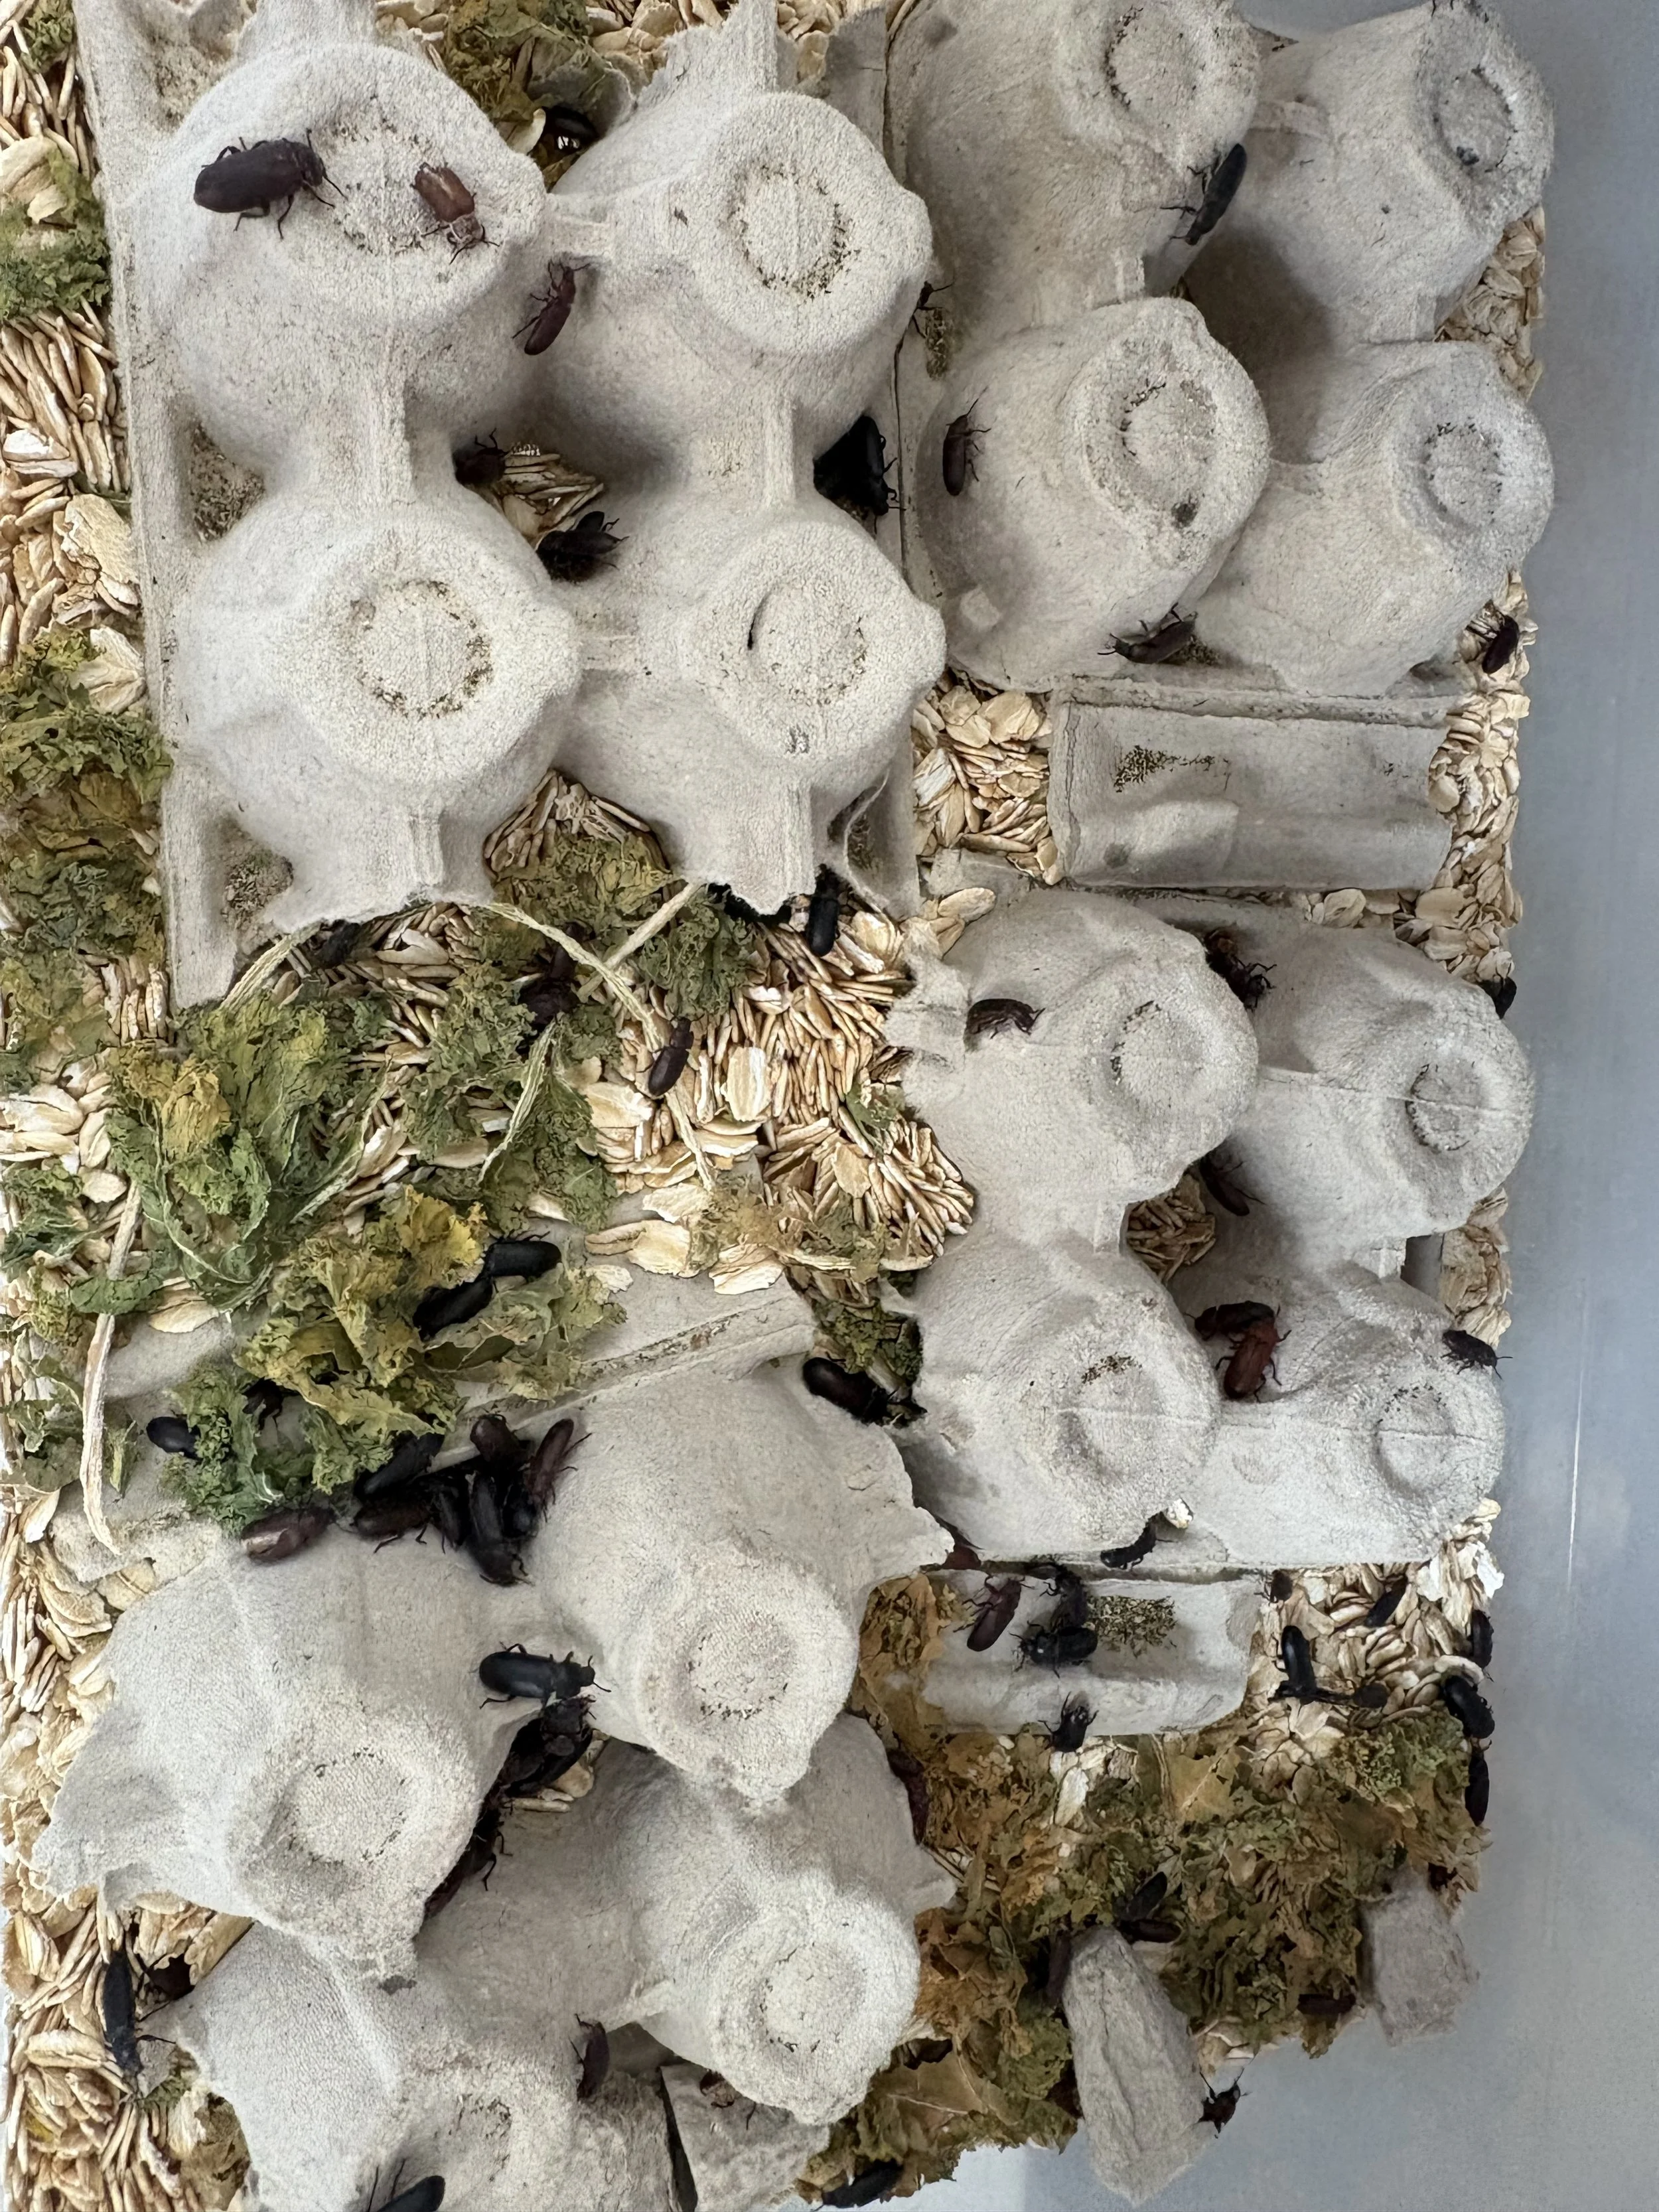
While I waited for my 500 worms to crawl their way to me from Pennsylvania, I got started on my three-drawer system using a plastic office 3-drawer organizer that had been miraculously waiting for me to pluck it from our truckload of dump-bound trash. Two drawers were intact, but one was a little broken. A little duct tape and plastic sheeting and voila! three drawers ready for worms! I created a substrate mixture of corn meal, flour, and oats for the larvae and pupae drawers, and removed the plastic bottom of the beetle drawer and replaced it with window screen mesh. The beetle drawer lived above the larvae drawer, and the idea was for the beetles to lay eggs through the mesh into the larvae drawer. Apparently the beetles get hungry and eat their eggs and baby worms; the mesh would prevent this cannibalism. I placed some cut up egg cartons on top of the substrate, as well as some potato slices. The worms eat the substrate for food, but the potato (or kale, or carrot, or apple) acts as a moisture source without providing too much moisture. They have tiny mouths! I did learn that you should NOT use flour and corn meal for substrate so quickly swapped the larvae tray substrate for pure oats. The flour tray was moved to the pupae drawer.
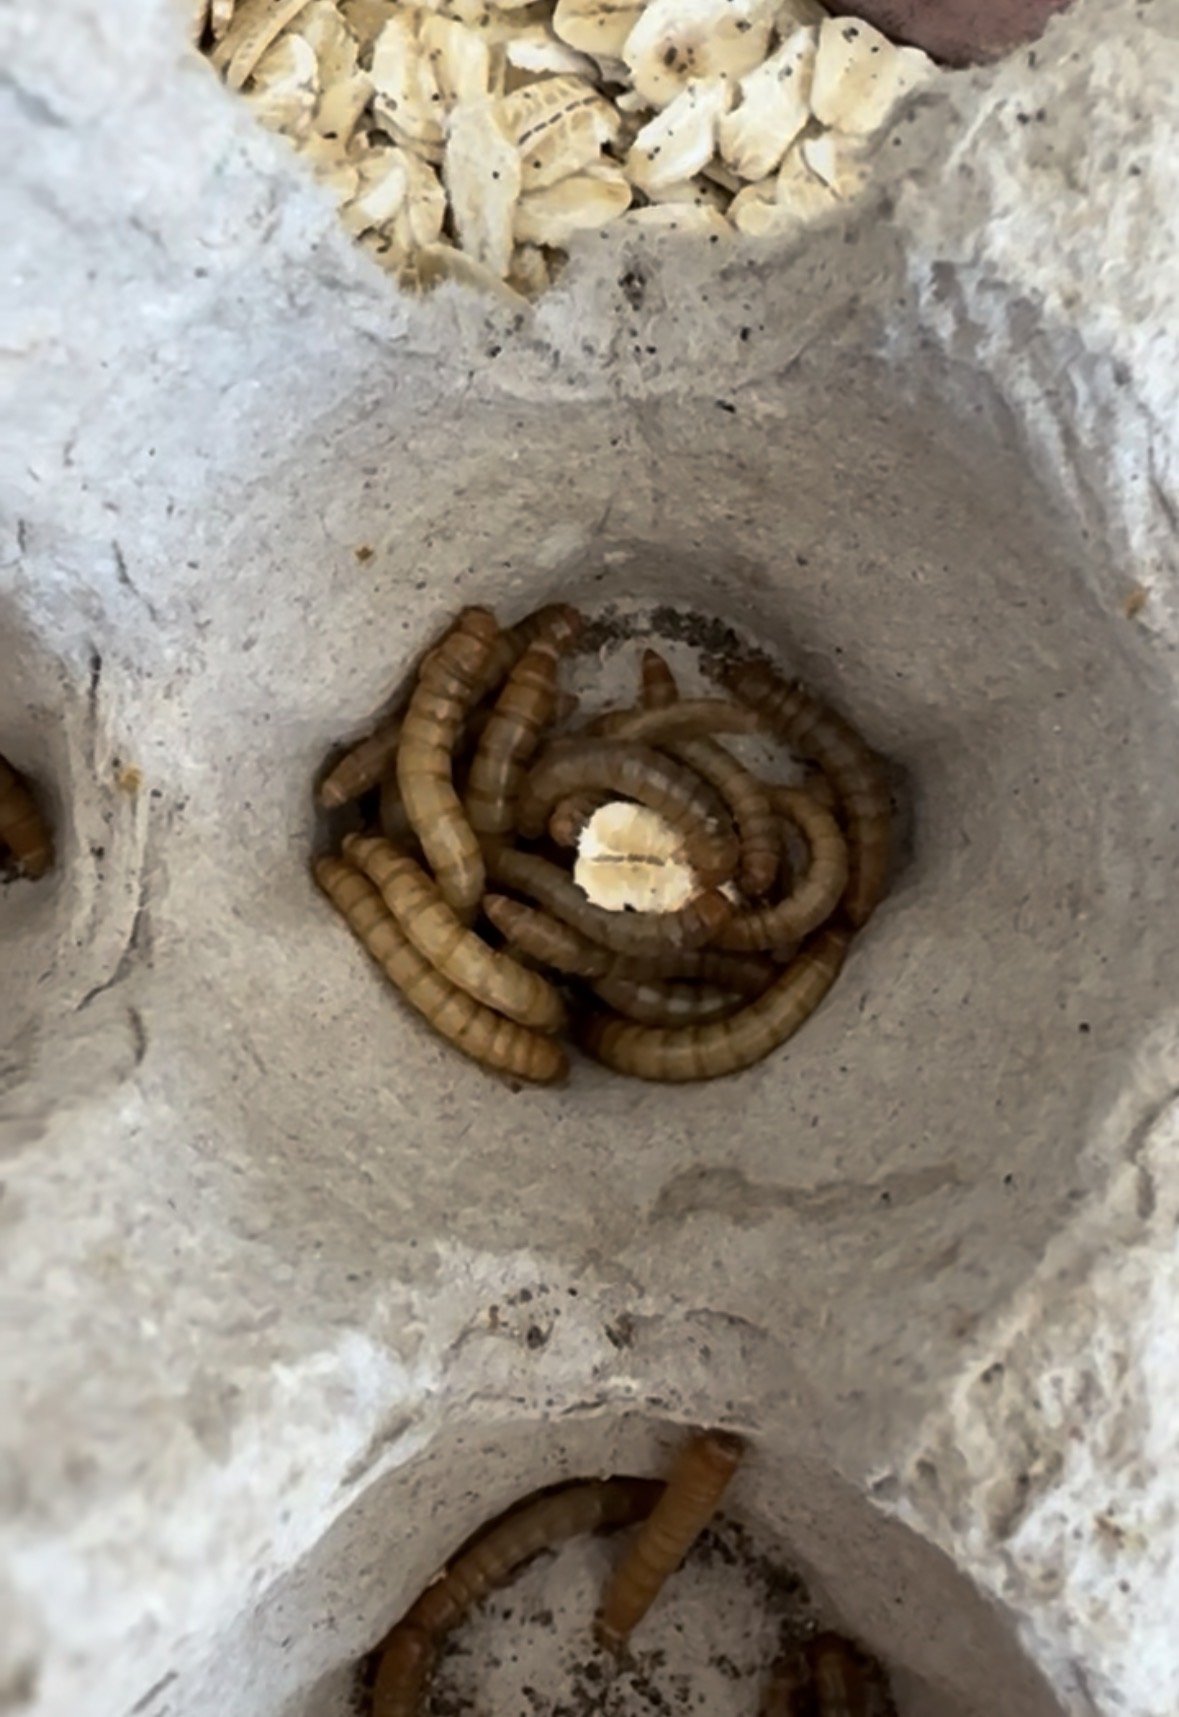
Eventually, my worms arrived, and I was more nervous than I expected myself to be. Sure, they were just worms, but they’re still living creatures suddenly placed in my care! I got them quickly set up into their new home, and they took to it like… larvae to a pile of food. They were very happy. I was happy, too. Maybe it was too soon to tell, but I found I was endeared to their little arms and faces, and I couldn’t help but see them as a bunch of babies.
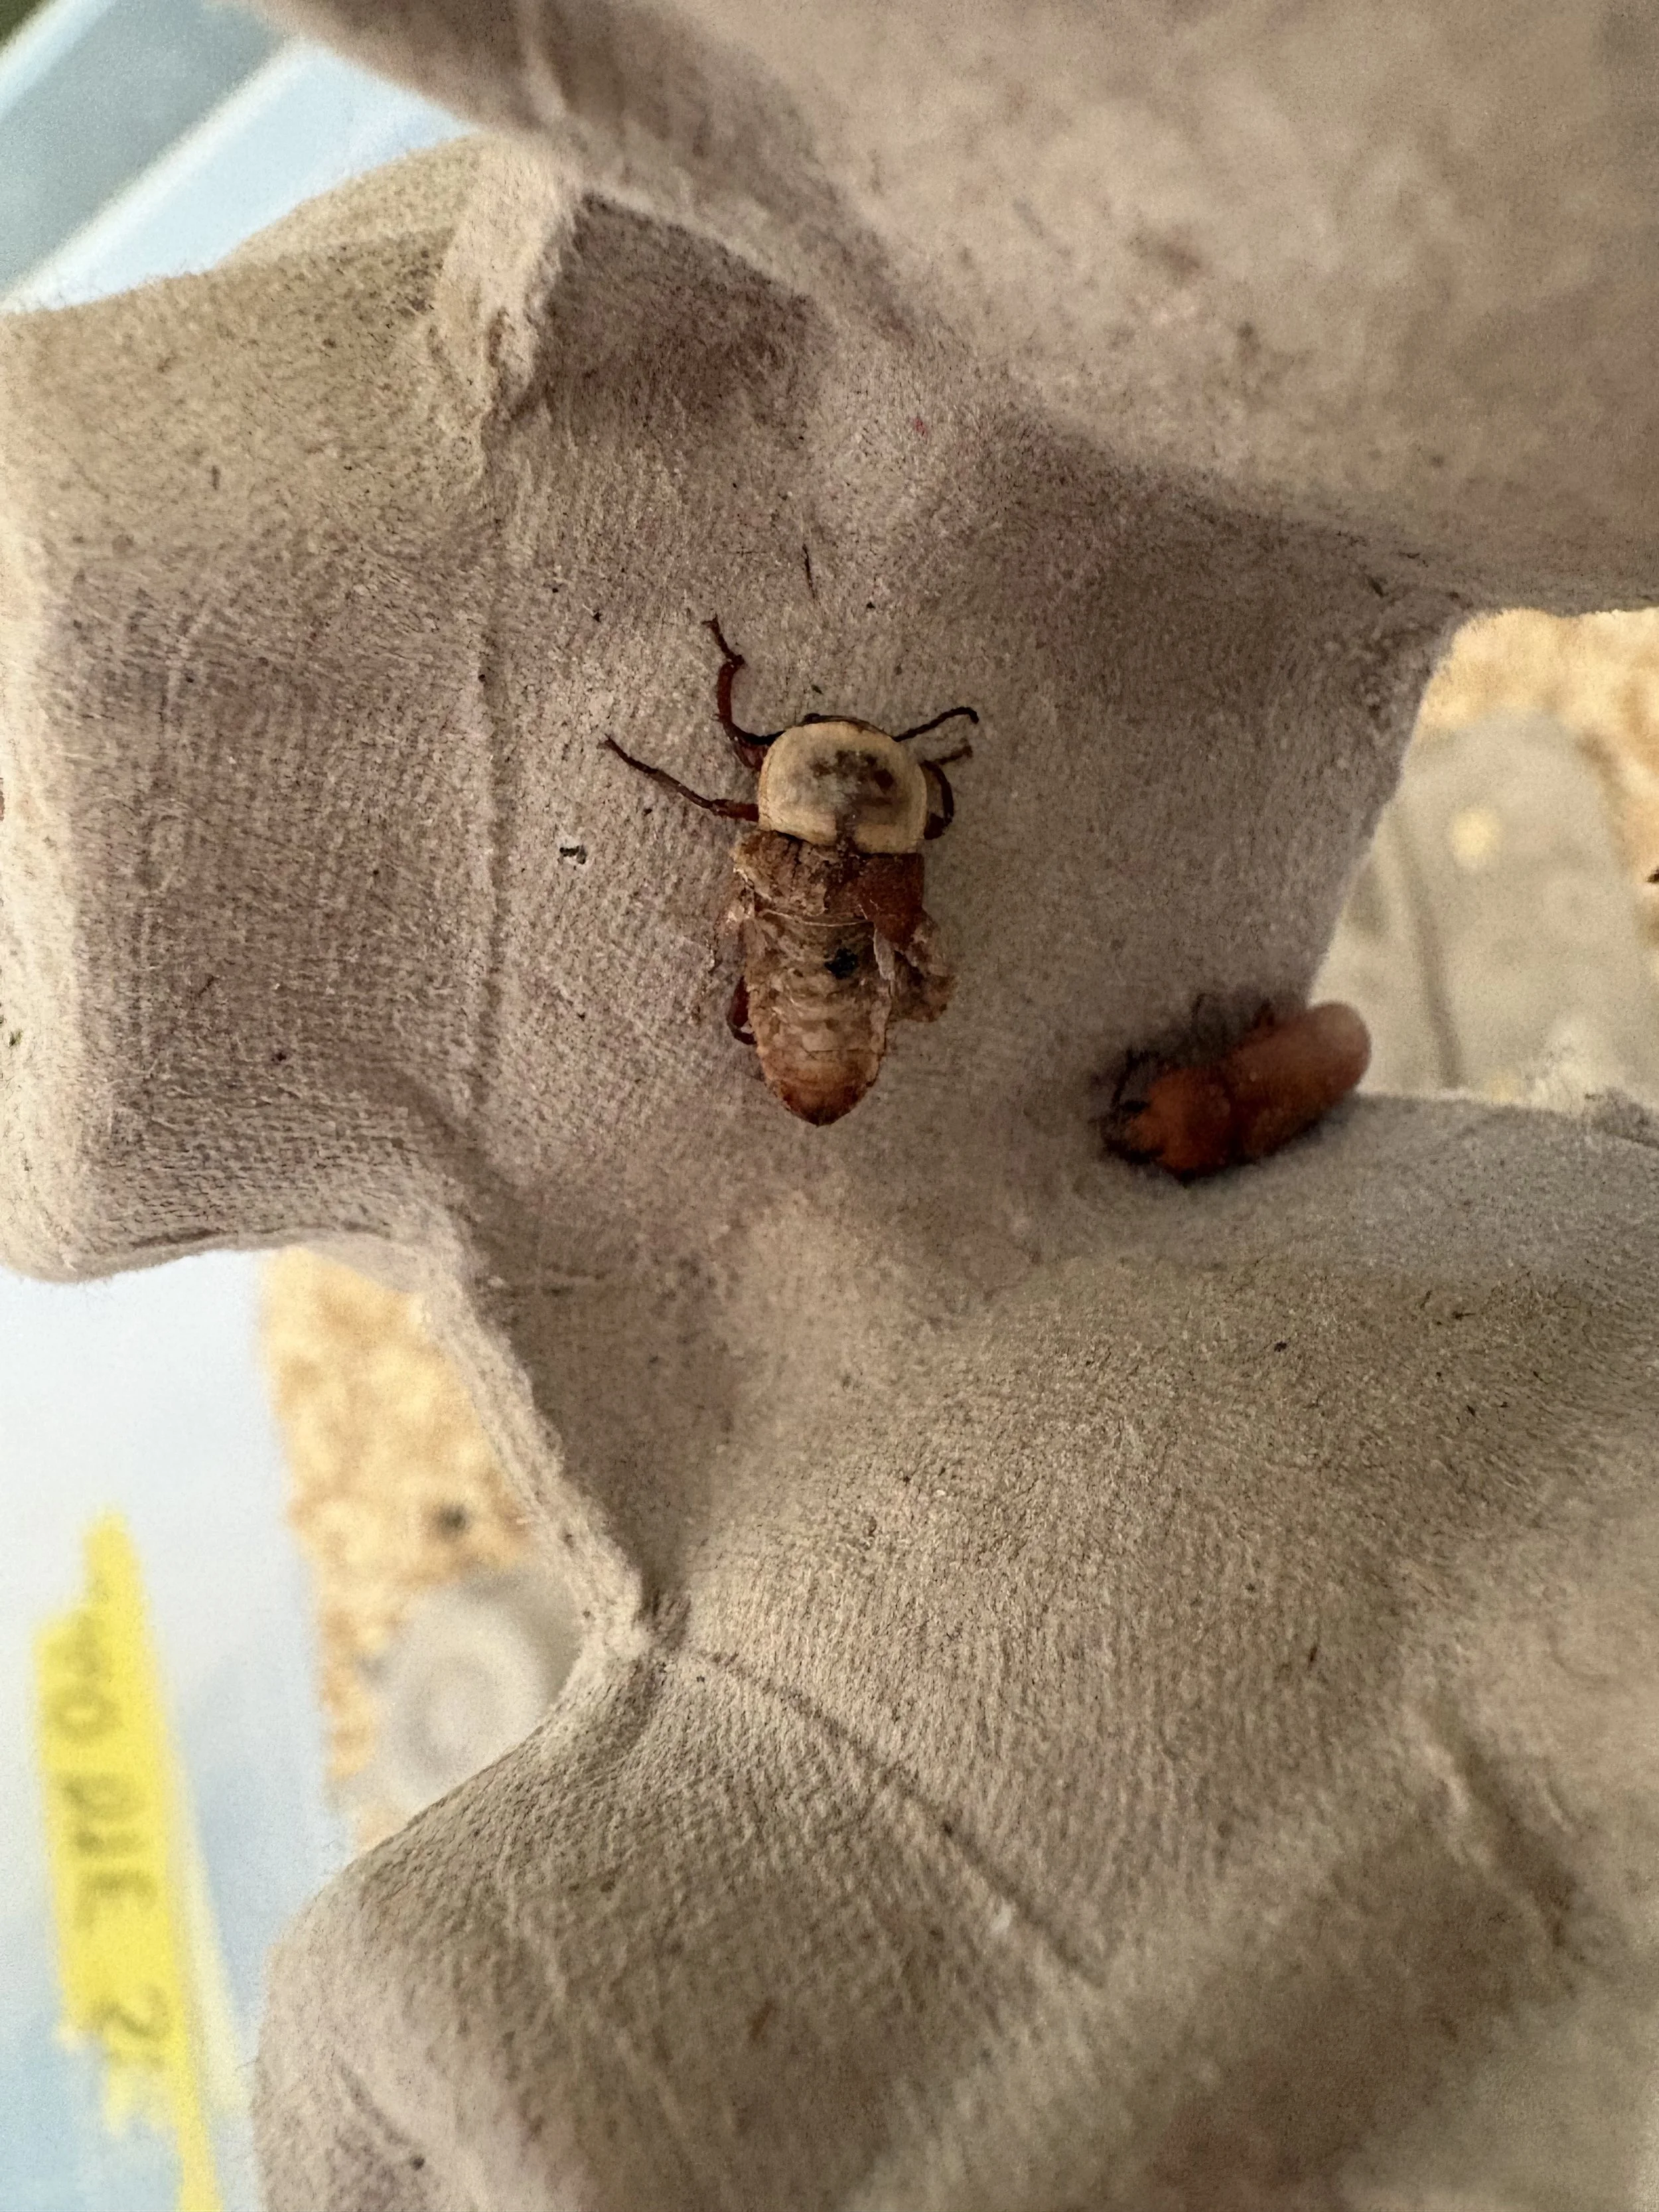
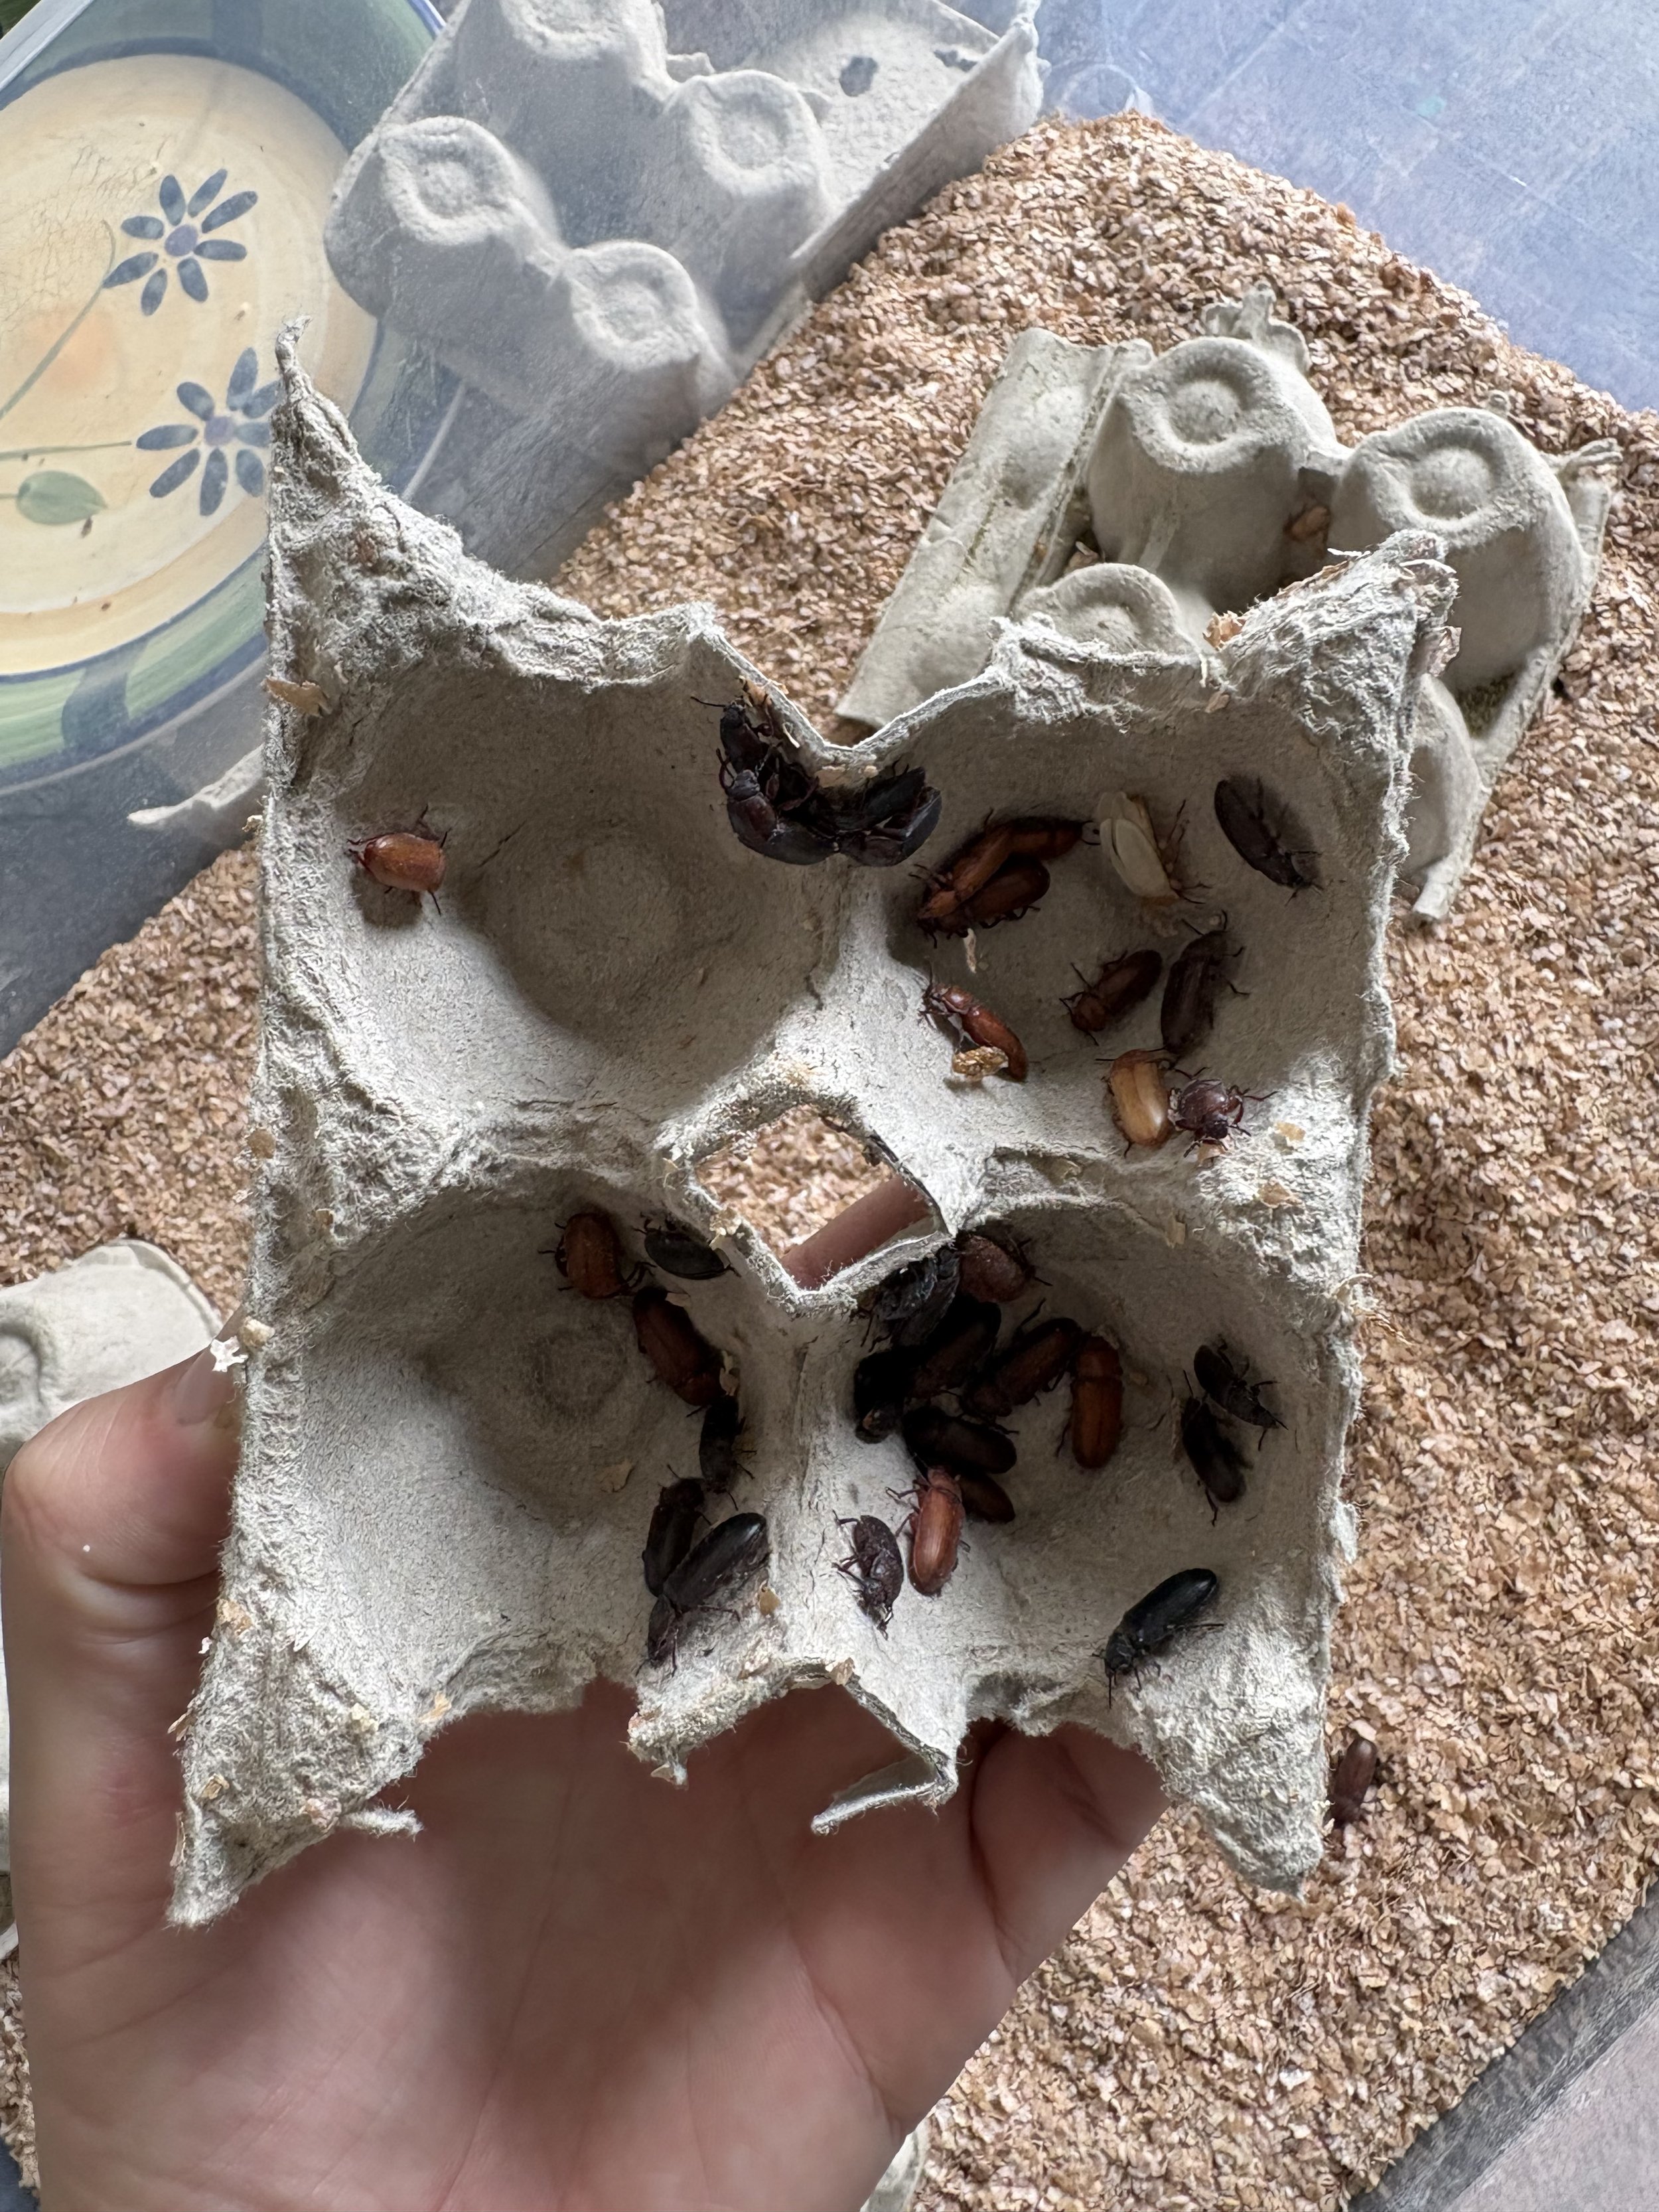
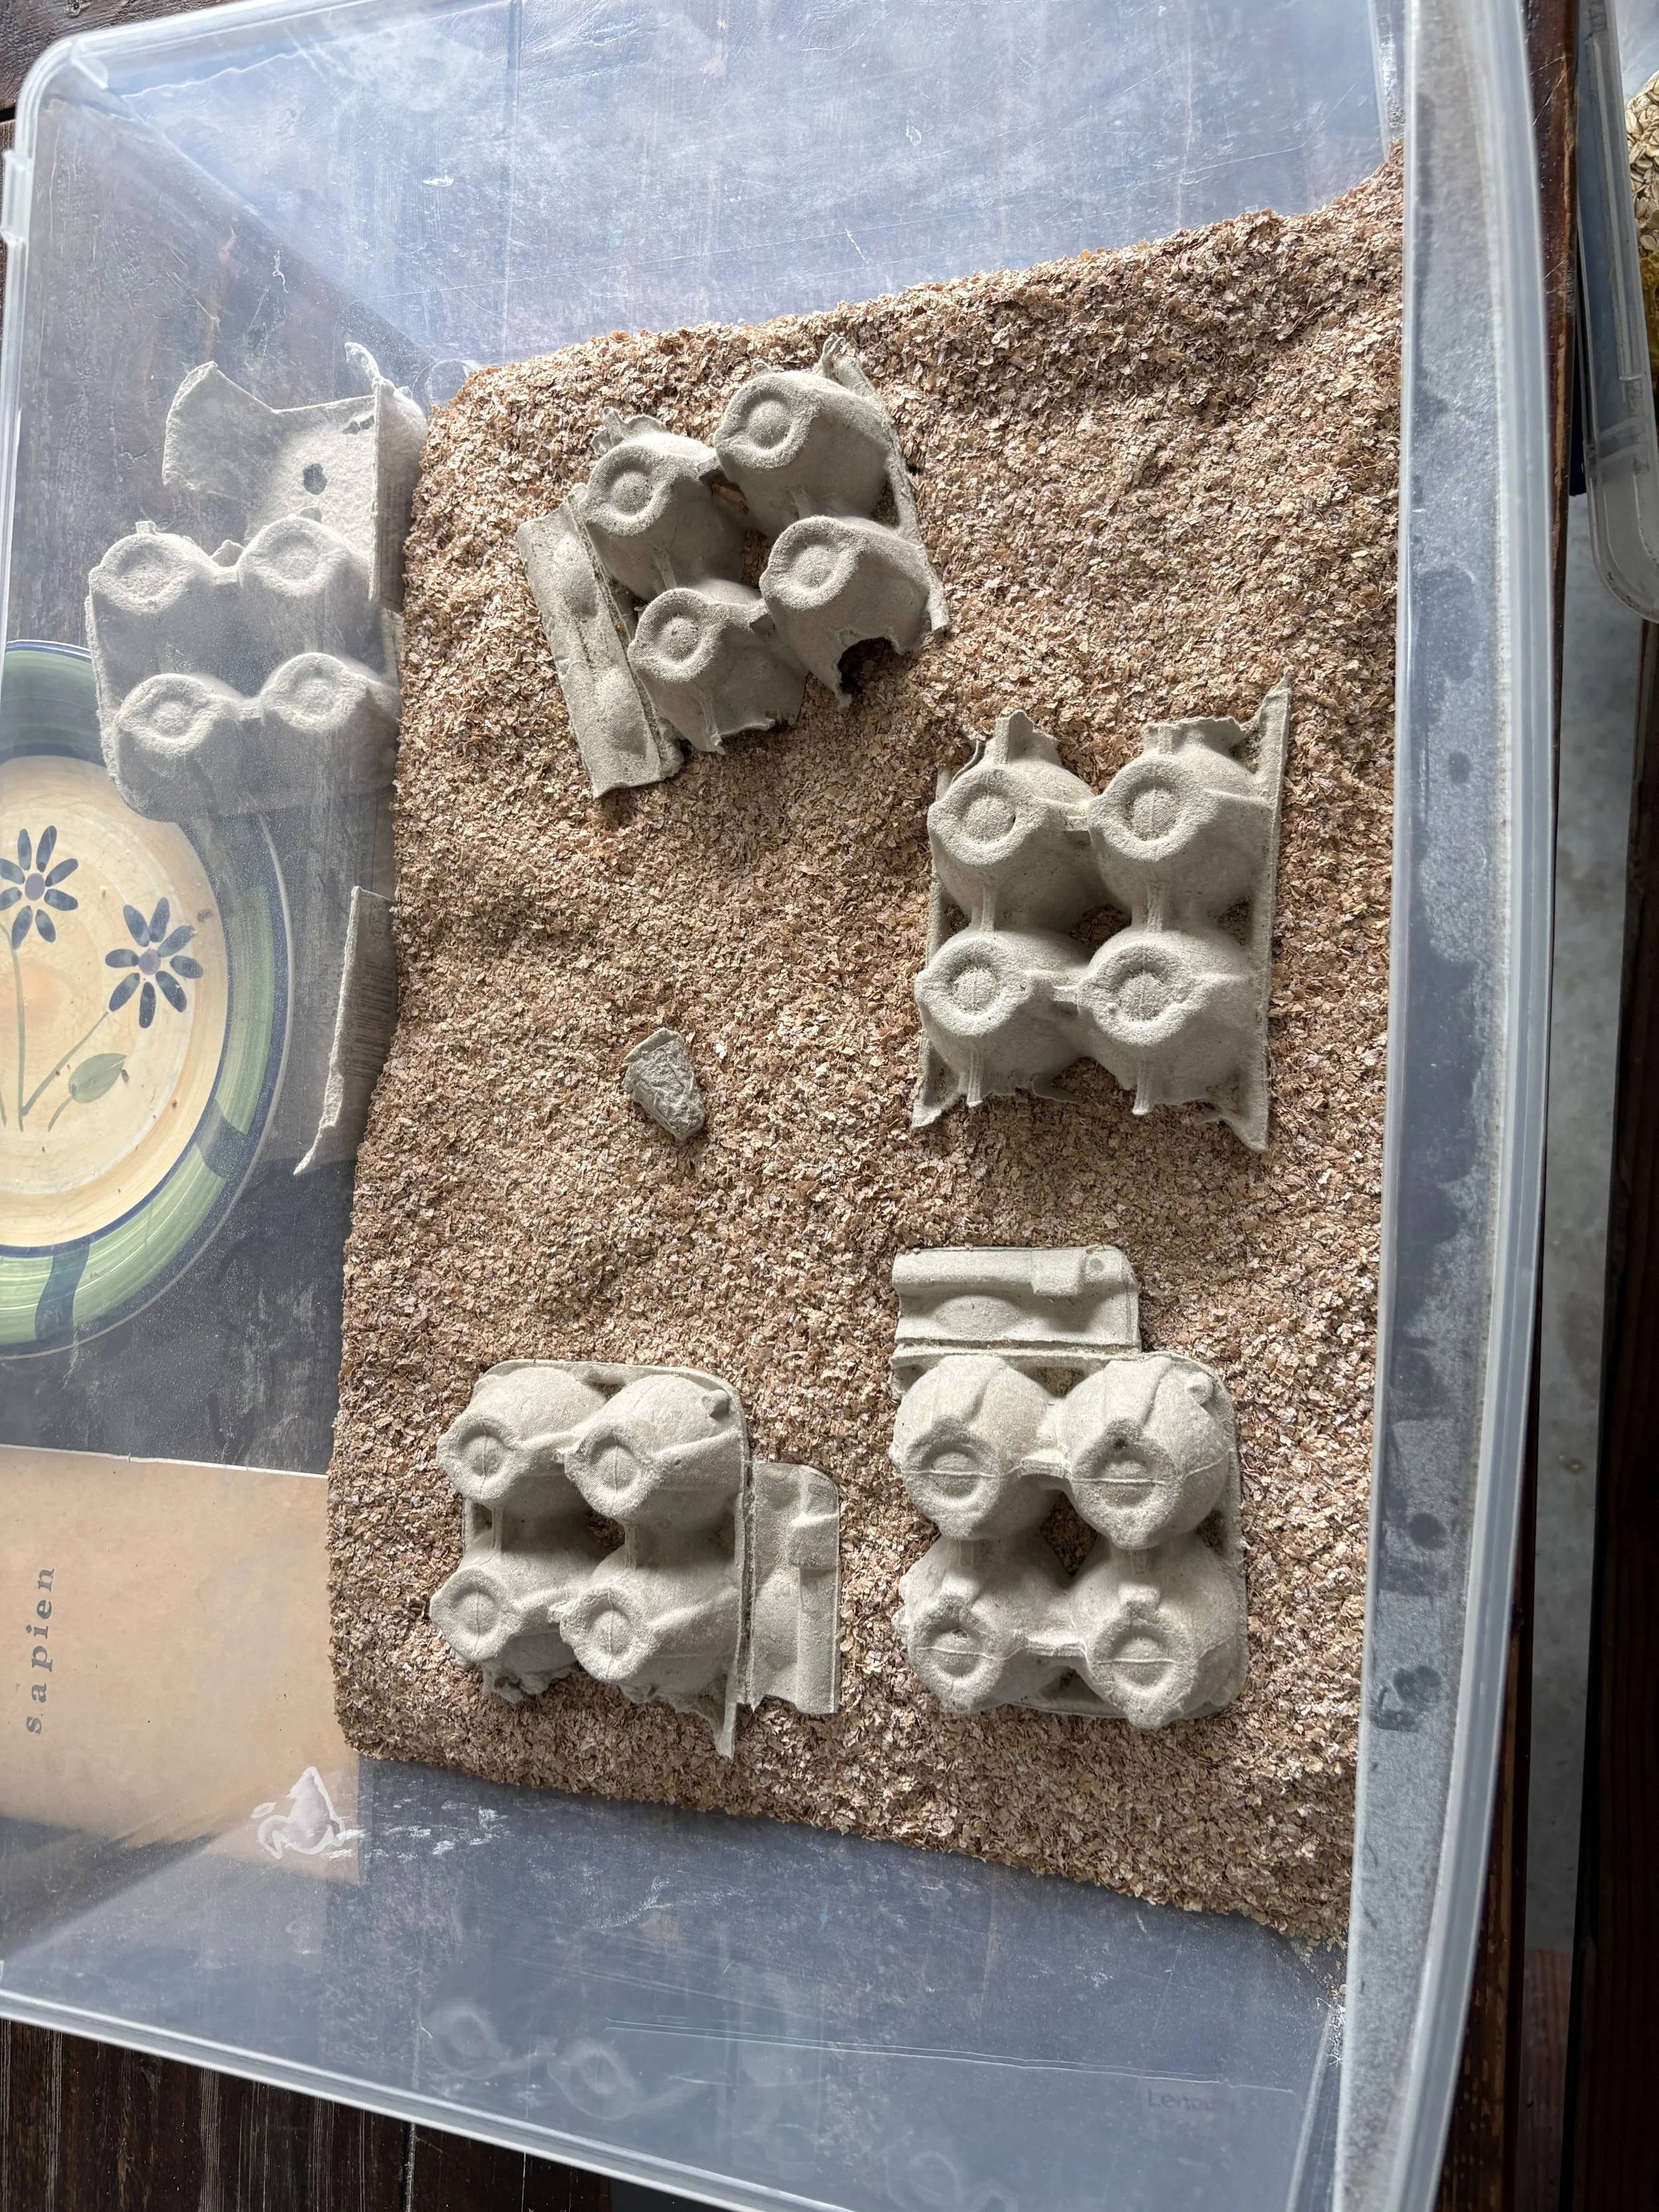
A couple weeks later the first pupae appeared. And…. I learned quickly why you don’t want to use flour substrate; I thought the beetles were white when they first crawled around, but they were just covered in flour! Eventually we procured a big bag of wheat bran, saving the beetles the ordeal of being covered in flour, and me the headache of having to individually pick out all the different little guys from the similarly-sized oats. In the span of a few weeks, I learned A LOT. I abandoned my three-drawer model; the beetles dropped a lot more poop into the larvae bin than eggs, and I understood where the foretold stench came from! In its final form, I now have one tray of larvae and pupae in wheat bran substrate, and one tray of beetles – many, many beetles – also in wheat bran substrate. They seem happy, or maybe I’m just projecting.
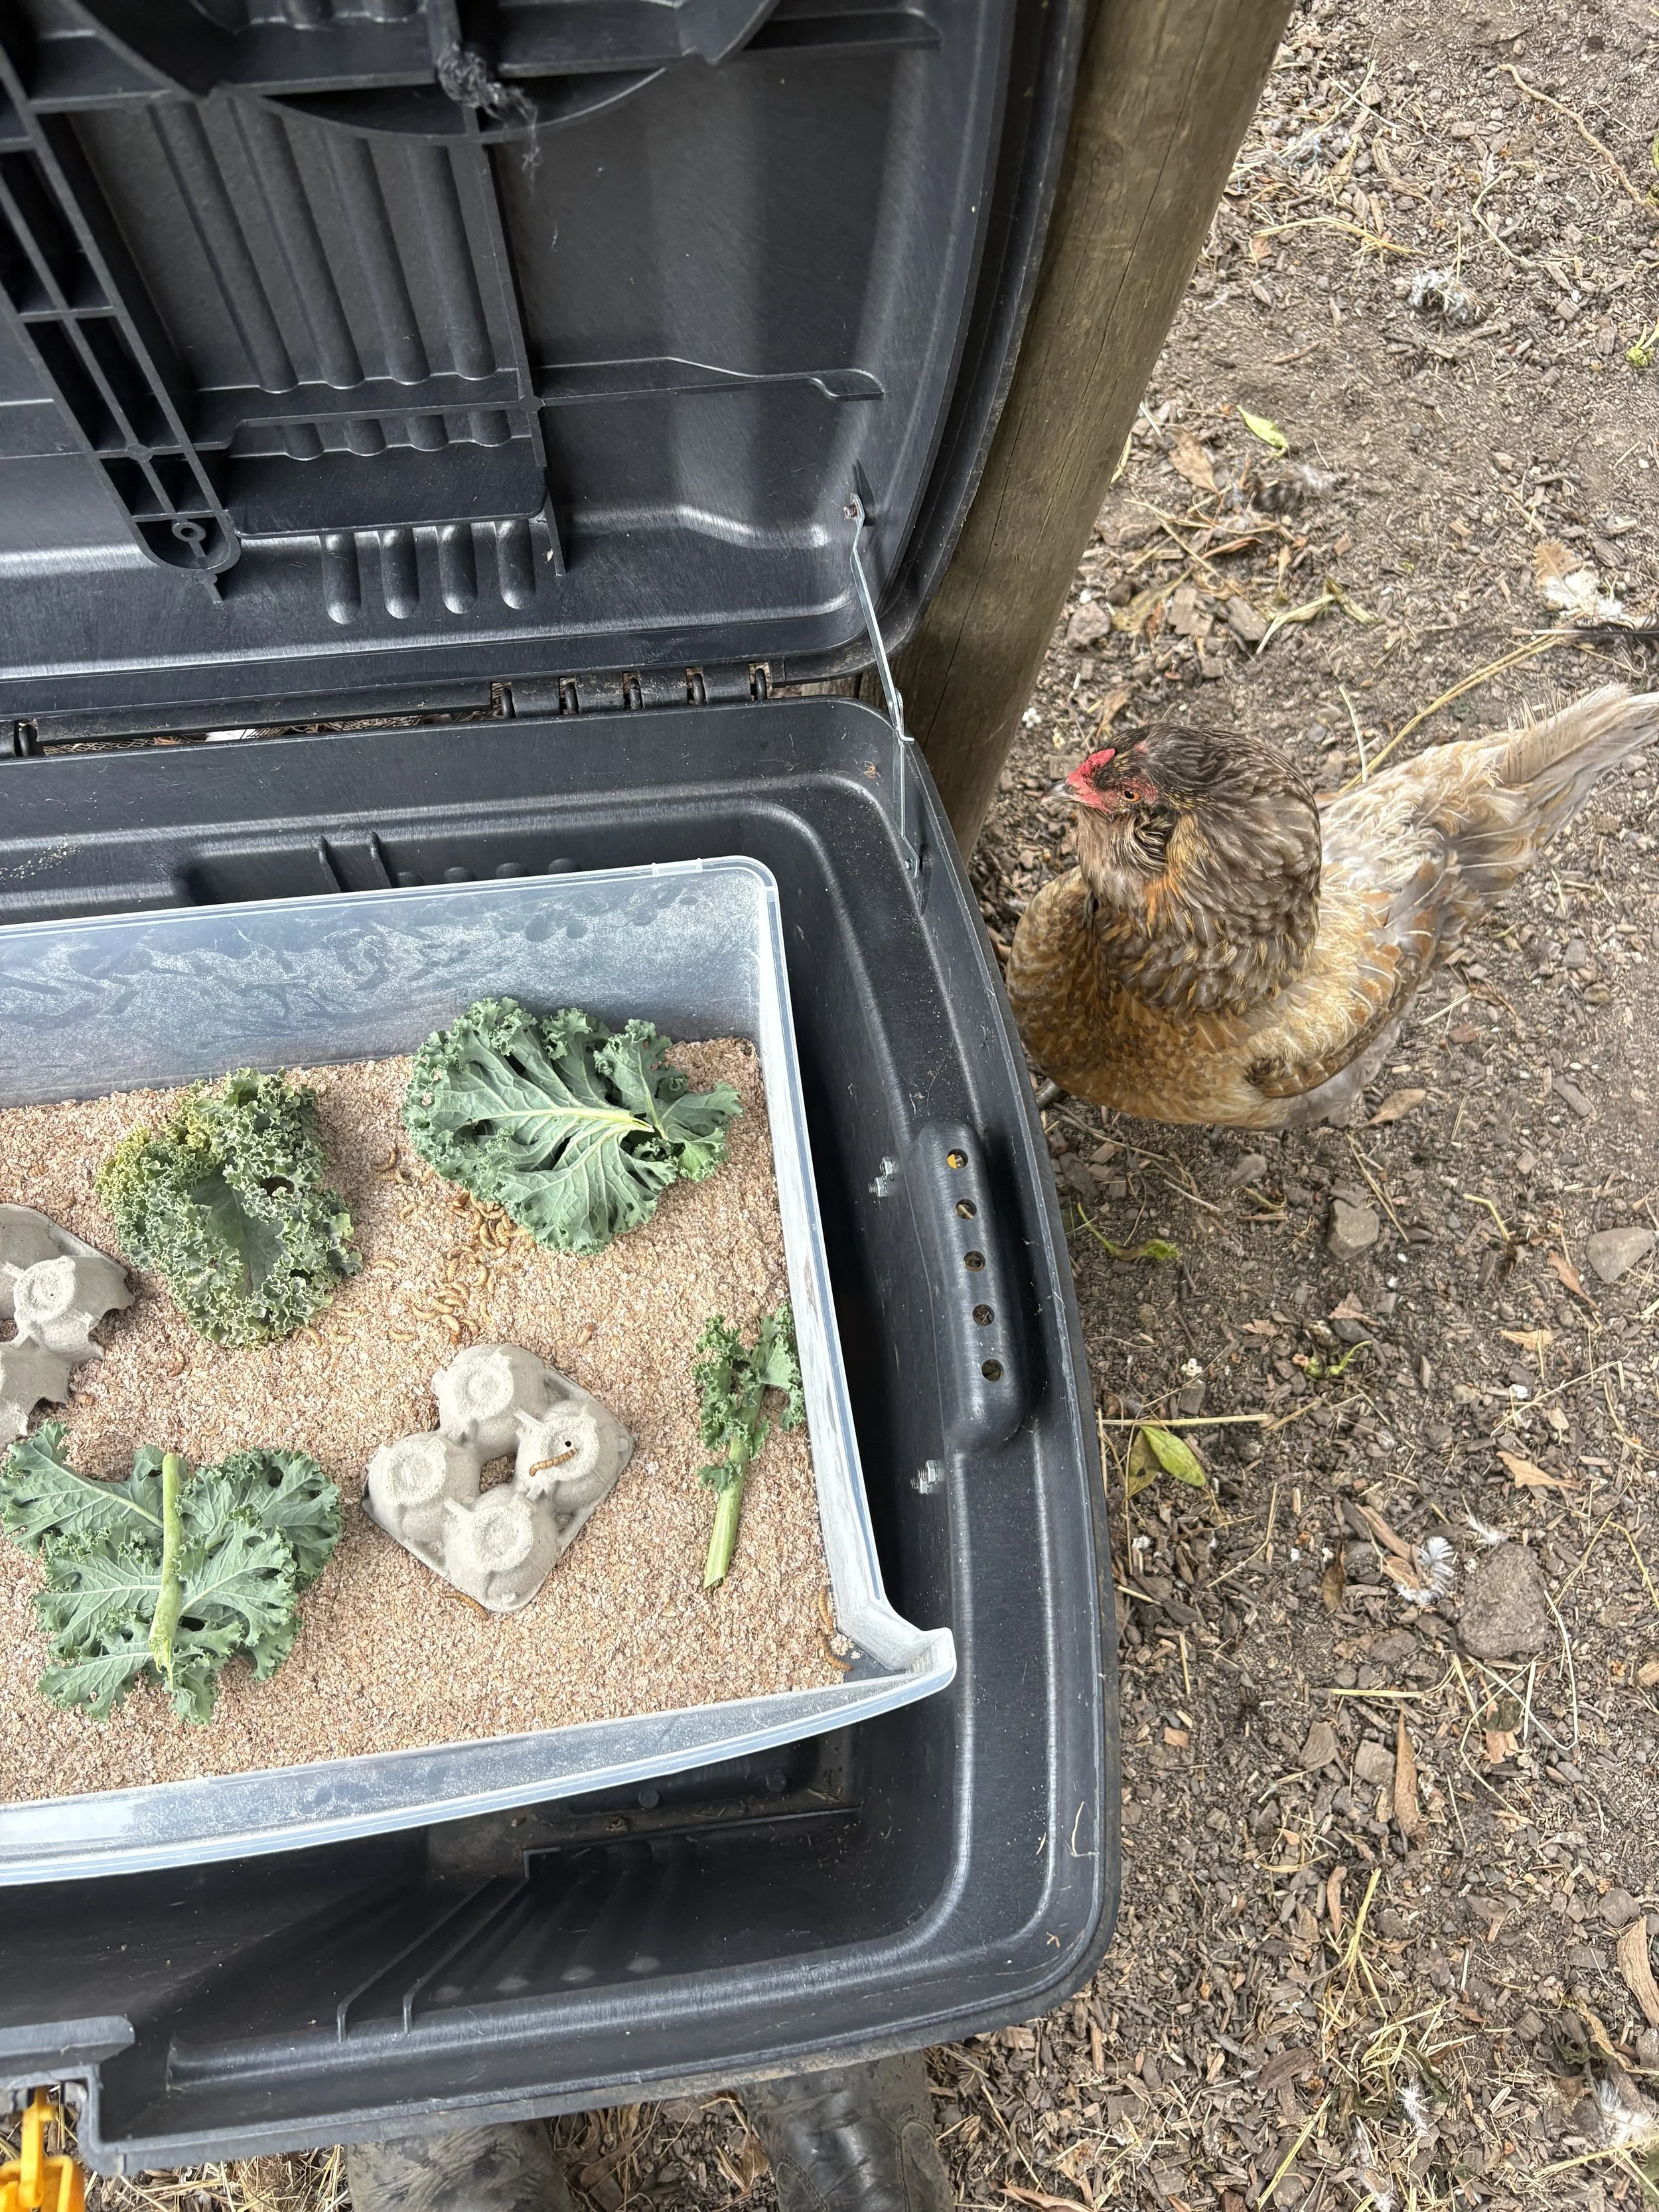
My goal for the this project has been to bring the mealworm and chicken life cycle into our programs so students, families, visitors can learn from them so I found a way to keep my trays in a raccoon-proof box in the chicken run, where everyone can see the different life stages and even pull a few guys out to feed our eager birds. I’ve had the pleasure of feeding the chickens and ducks a couple rounds of home-grown, live mealworms, and there’s nothing better than hearing their happy clucks and quacks!
Interested in visiting these new residents and learning more? Sign up for a Family Farm Day or bring your group for a program.